Deployment Prerequisites (Hardware / Software)
- Servers / NAS with UPS and temperature controlled environment for managing 365 x 24 operations
- Firewall, routers, managed switches, structured cabling, rodent/water/fire proof environment
- Reliable internet connectivity, load balanced at least between two service providers
- Vendor capable of configuring and managing networks, active directory, shell scripts, backups
- Official software licenses for servers, database, mail servers etc…
- Opetus needs RAID 1-0 to be used on Database Server, RAID 5 on backup NAS server and RAID 1-0 for reporting server
- Ensure free disk space of 512 GB post RAID for DB Server
- Deployment of SQL and Opetus Server needs certain privileges. Prefer to login as administrator to ensure setup does not fail for want of access rights
- Pre decide a path for server and database deployment and ensure selected partition has enough disk space. Default Path for Opetus Education Server is C:\ISERVER and Opetus database is C:\ISERVER\DATABASE
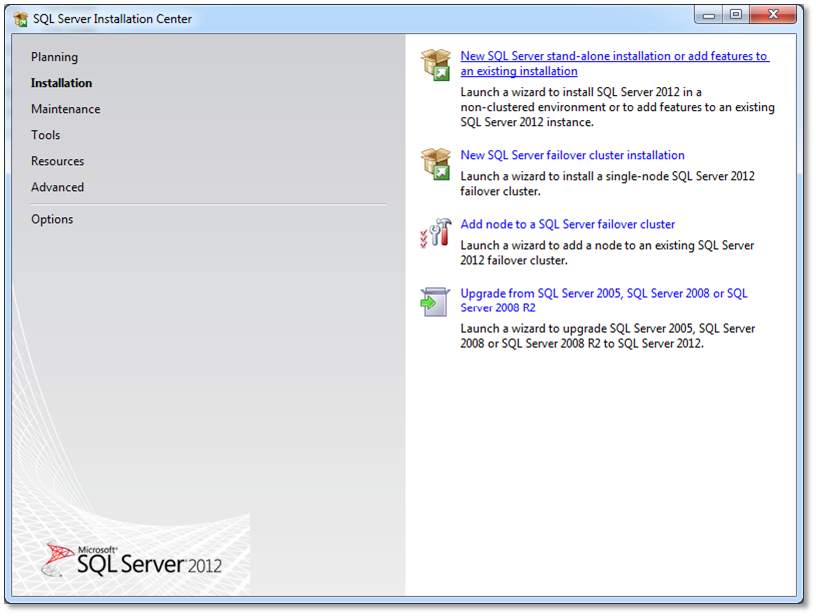
Steps For Installing SQL Server For Opretus Education ERP Server
Start setup and select option to deploy NEW SQL Server
Ensure if SQL Server instance will be used exclusively for OPETUS or it needs to be deployed in a shared instance
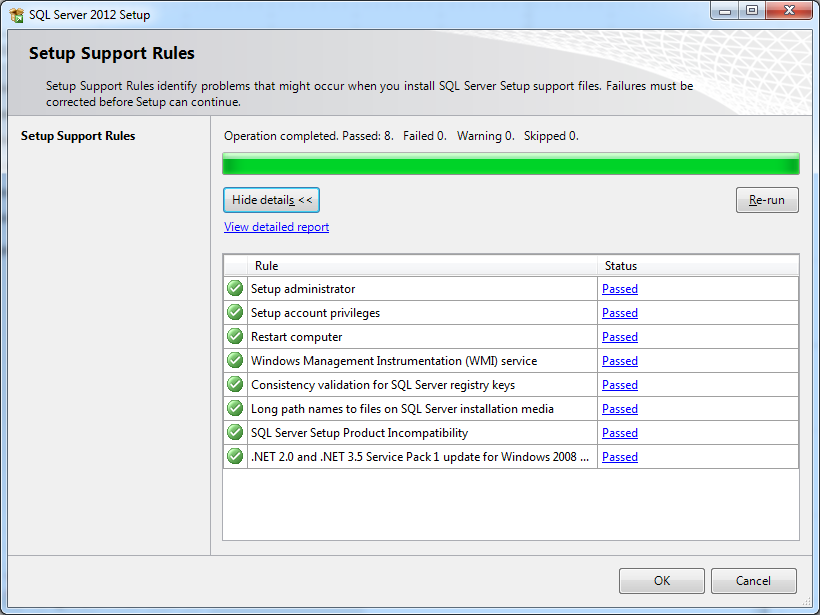
Ensure ALL setup support rules are passed
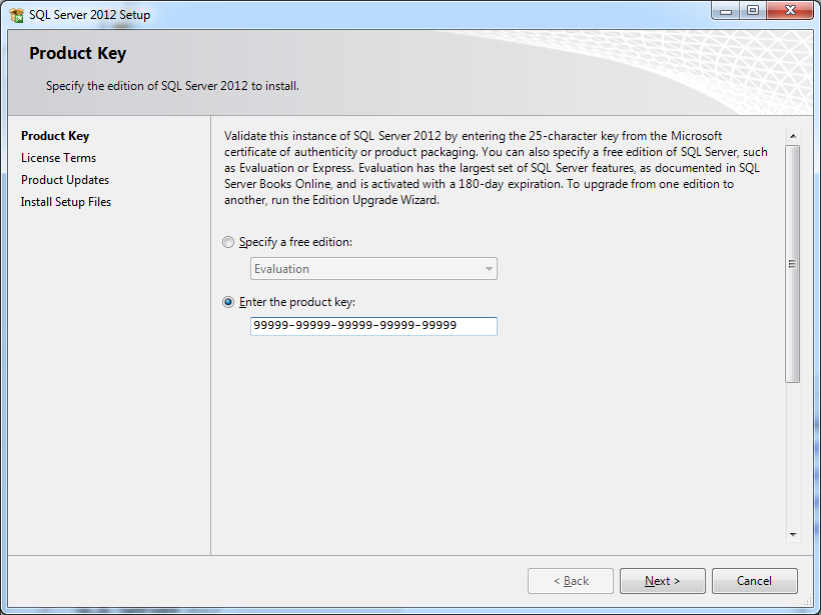
Enter your license key and register SQL Server
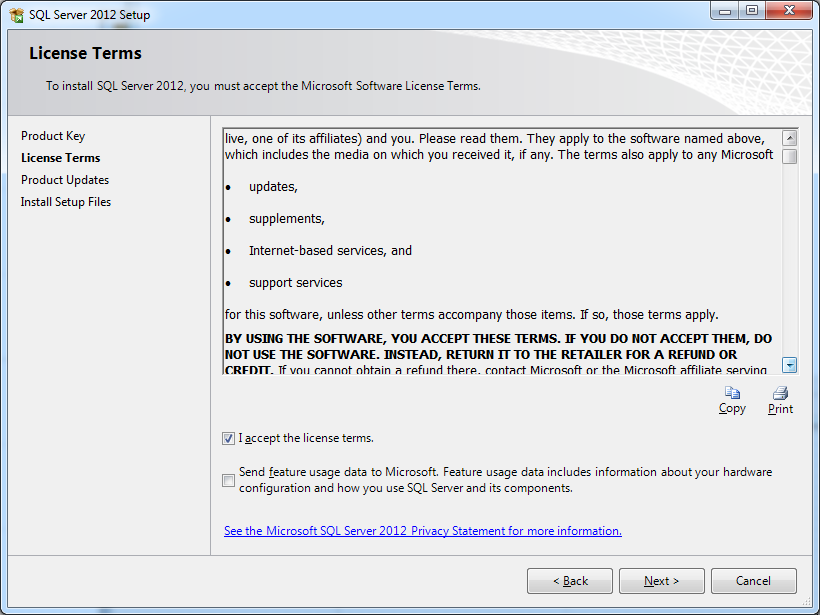
Accept license terms and proceed with deployment
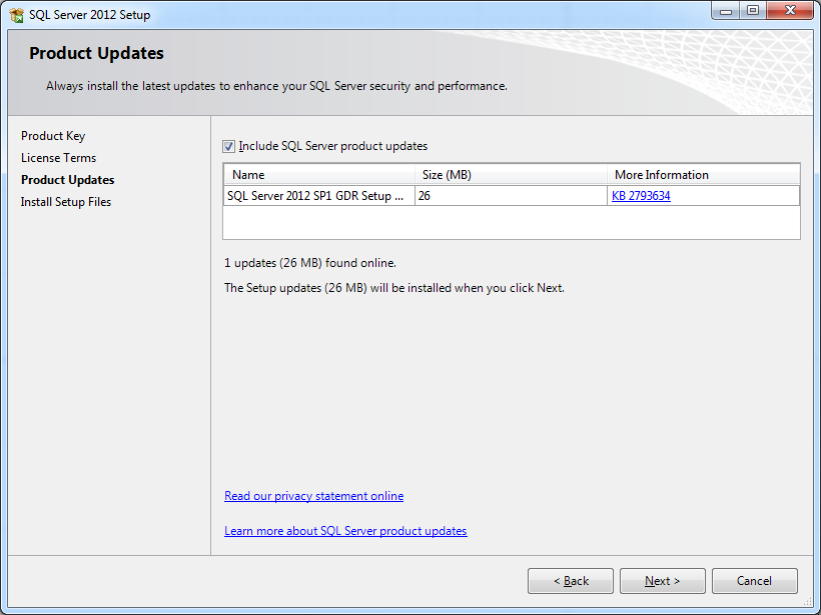
In case setup finds new updates opt for deployment of latest updates and service packs
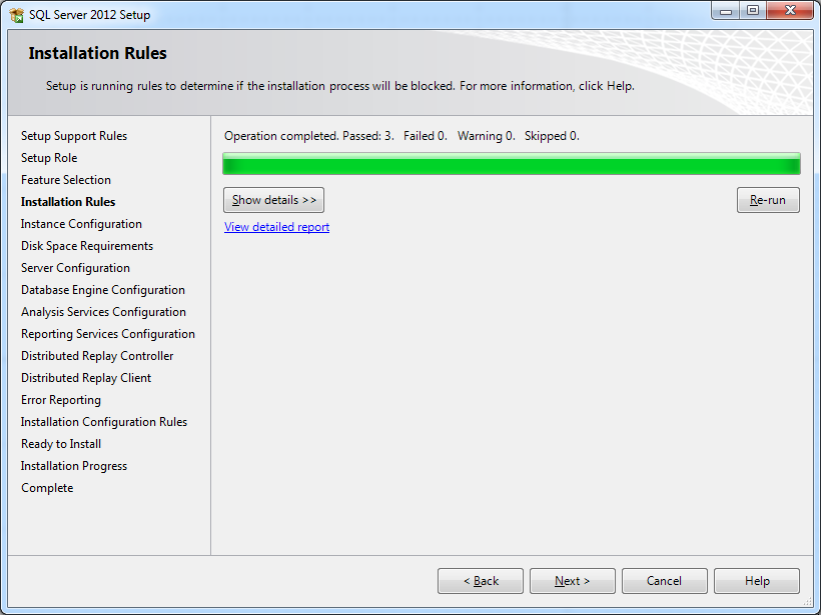
Ensure again all support rules get passed. Ignore firewall warning as it can be configured later
.png)
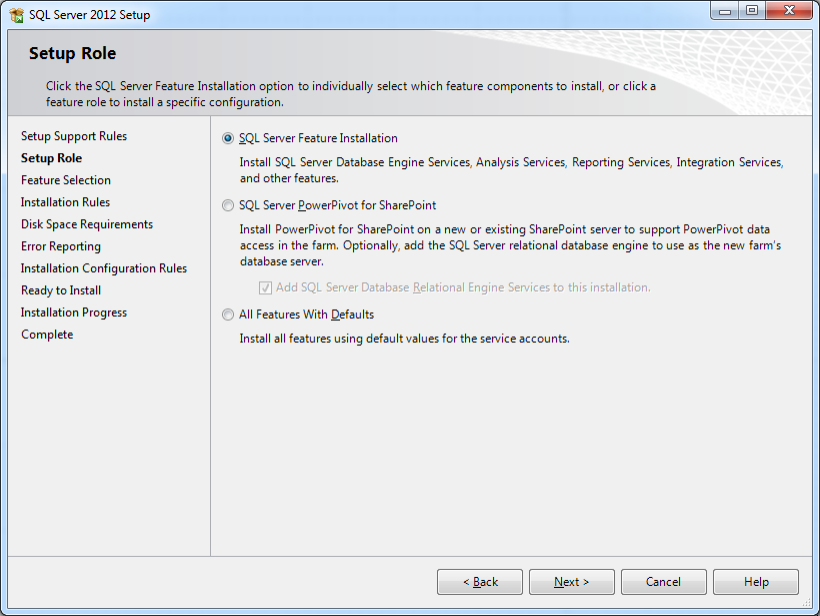
In the next option select feature installation as OPETUS needs specific features to be enabled to restore default database
In next form click “Select All” and tick all features
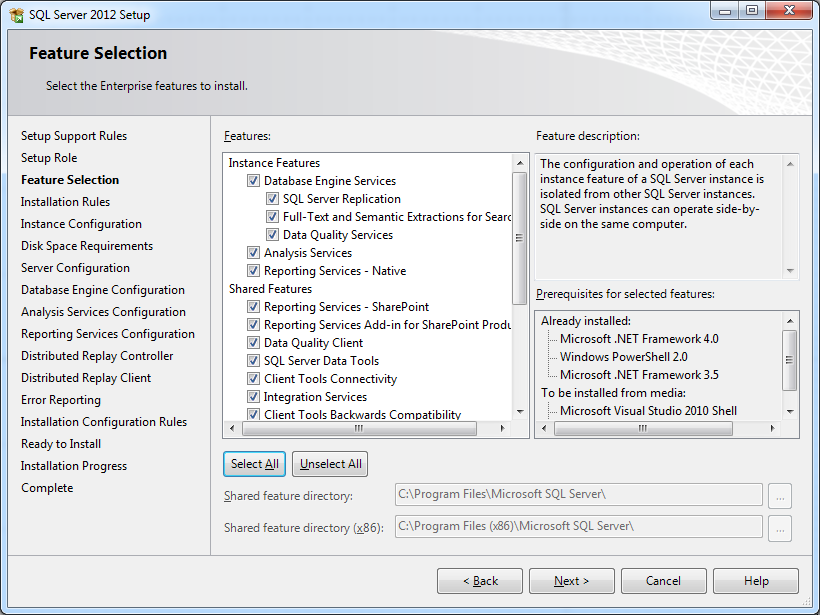
Verify if all installation rules are passed
Shared Versus Exclusive Deployment Of SQL Server
In case education institute has dedicated exclusive ERP server select DEFAULT instance option
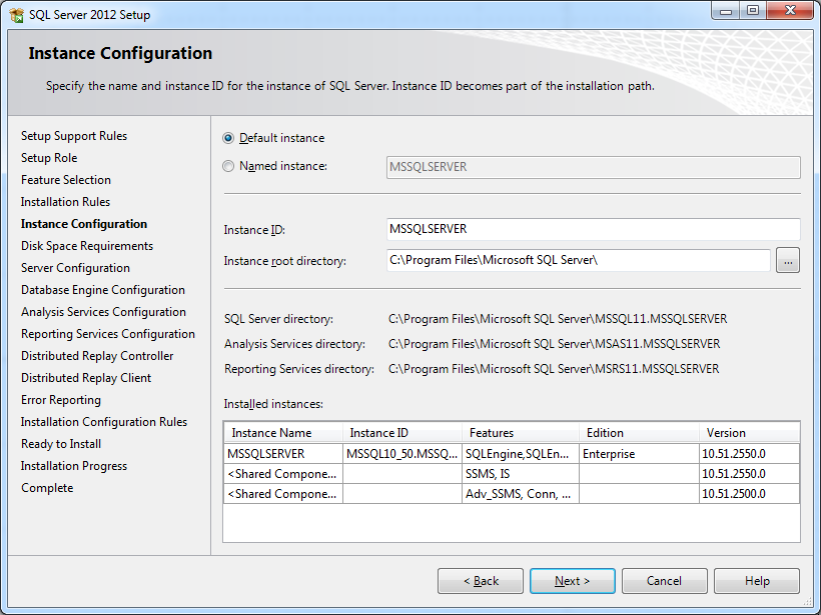
For shared scenario select NAMED instance and define “OPETUS” as the instance name
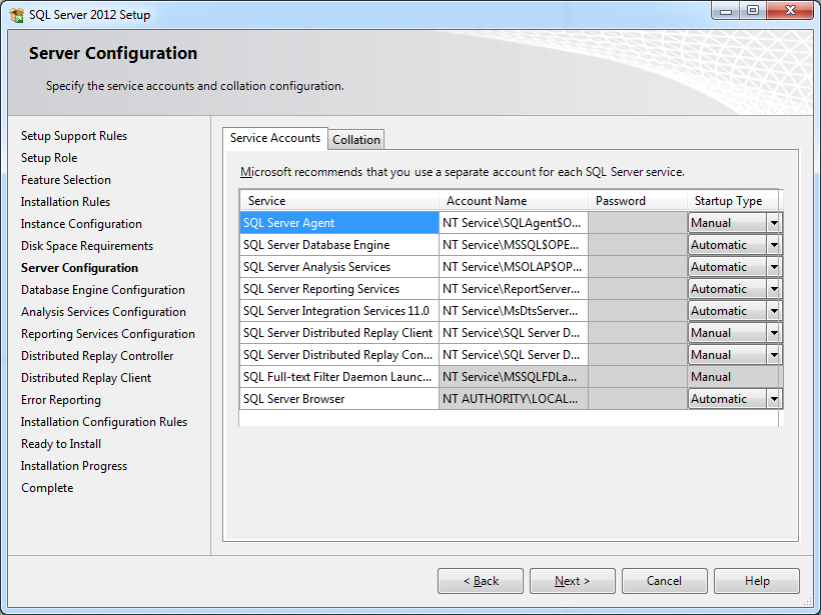
While defining Server Configuration ensure “Automatic” versus “Manual” startup mode as shown in figure
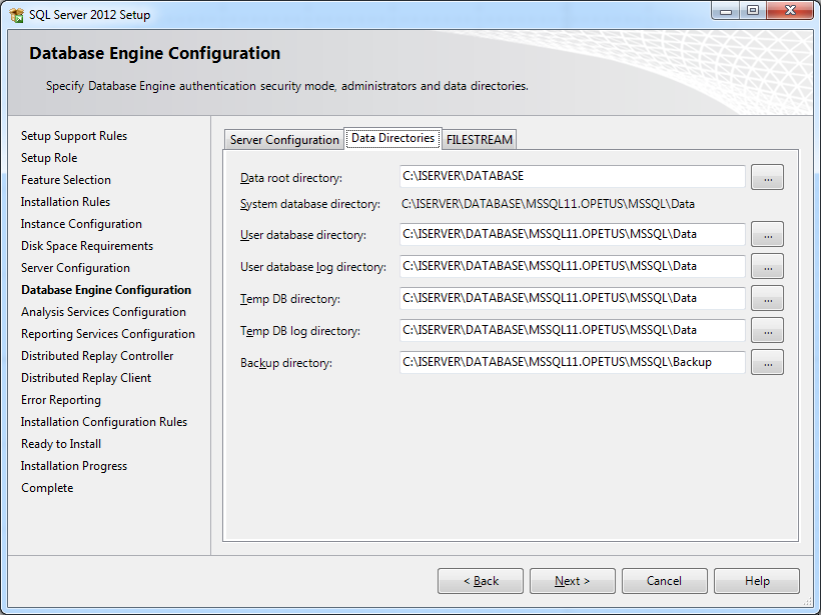
Database Engine Configuration is very important. Choose Mixed mode option so as to permit ‘sa’ login.
Add current user credentials as authentication credentials. Prefer to login as administrator during setup of SQL server.

As stated earlier assign the path where SQL Server instance is assumed to deploy database. Ensure that the
path exists or create defined directories before server installation
FILESTREAM is one of the most important option during deployment. If SQL instance has been installed
without this option OPETUS does not work. Opetus is one of the oldest ERP which manages, archives and indexes unstructured data along with transactions in ERP.
All content textual and binary is cataloged and user defined taxonomy can index unstructured content and make it searchable like google

Deployment Prerequisites And Steps For Opetus Education ERP Server
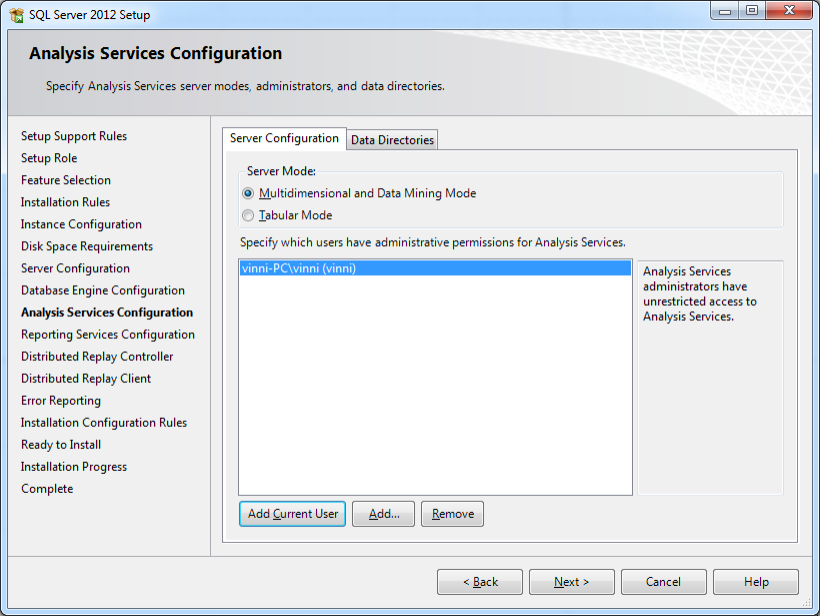
For analysis services configuration choose Multidimensional and data mining mode and add current user privileges
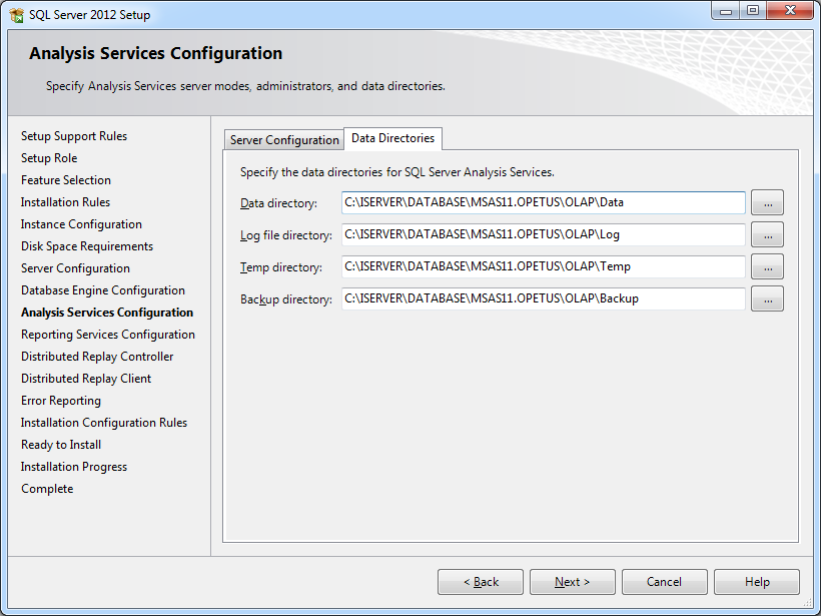
Choose path as shown in figure. Analytics and BI is part of Opetus Enterprise edition only.
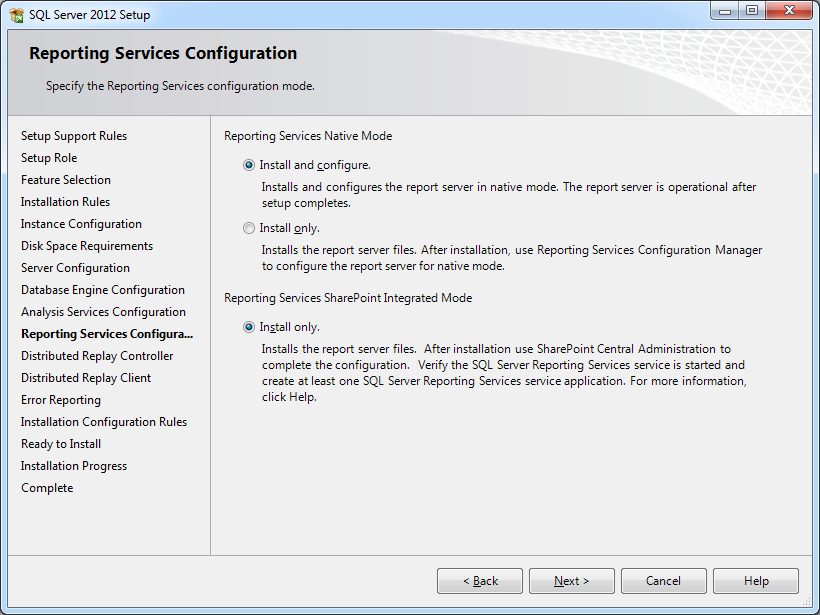
Opetus education server needs SSRS for user definable reports. Choose these options as shown and proceed with installation
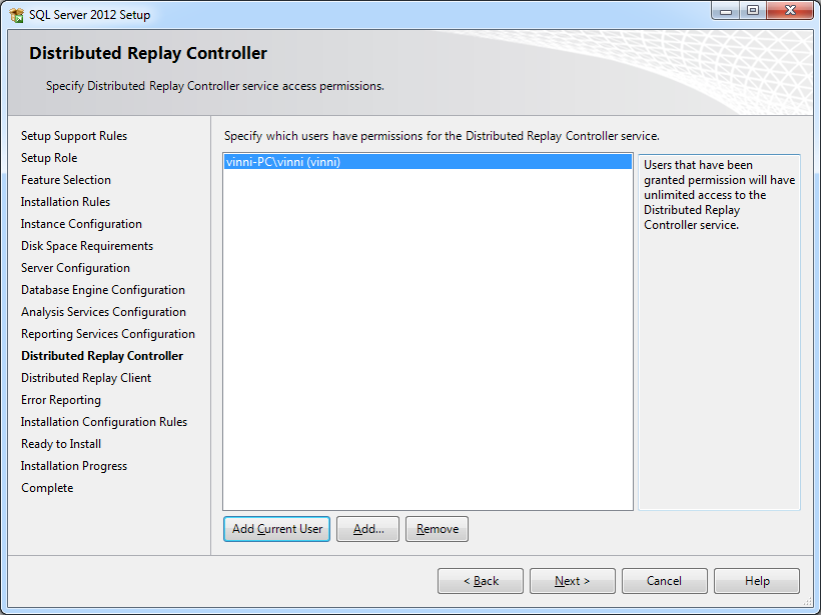
For next two steps for replay controller and client “Add current user”, Controller as ‘OPETUS’ and path as shown
Proceed with Installation configuration rules and ascertain they pass without errors

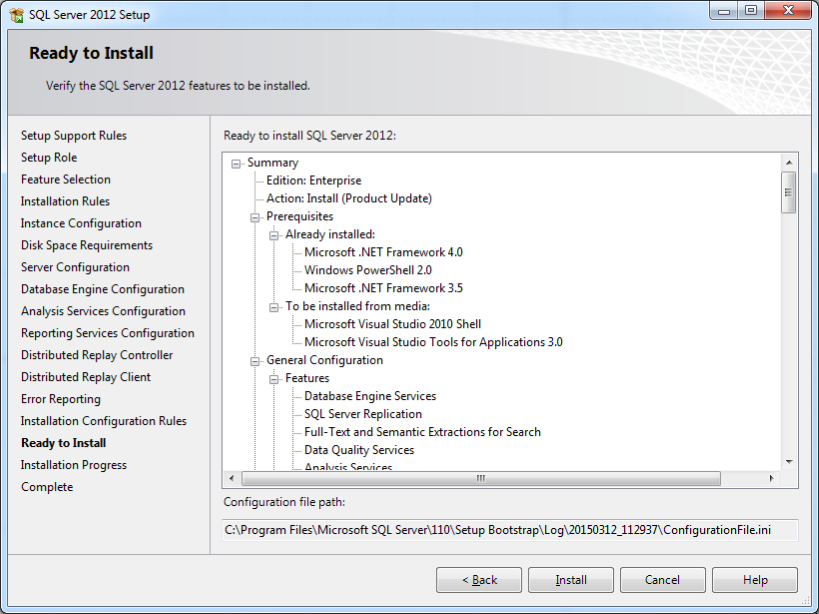
Finally you should get “Install” button with all options selected during prior steps. Proceed with install and ensure it completes successfully.
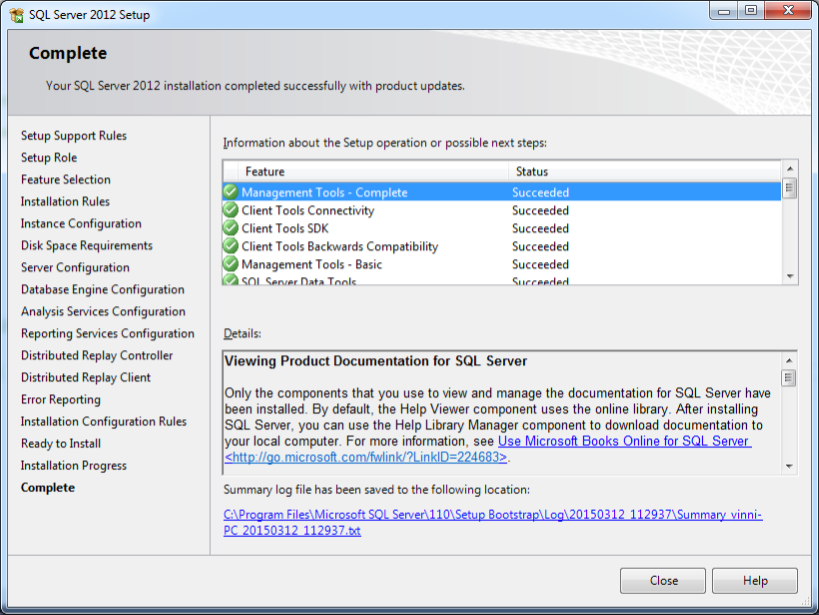
The final screen shows successful completion and list of modules installed
Manually Restoring OPETUSDB Backup On SQL Server Instance
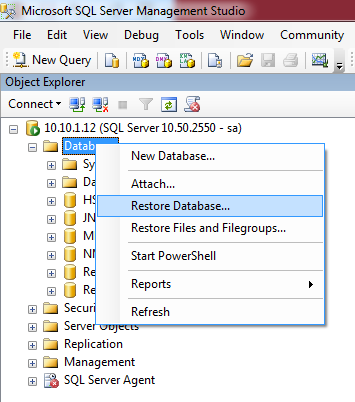
STEP 1 :
Run SQL server management studio. Right click on database node and navigate to Restore Database
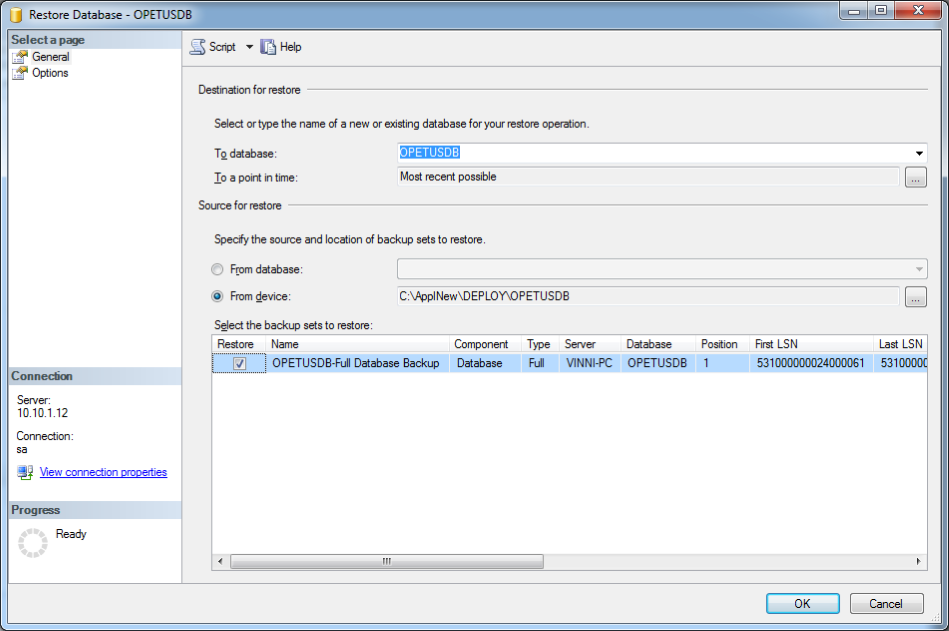
STEP 2 :
Select OPETUSDB file from downloaded path and tick “restore” column as shown in figure
STEP 3 :
Select Options node and tick “overwrite existing database”
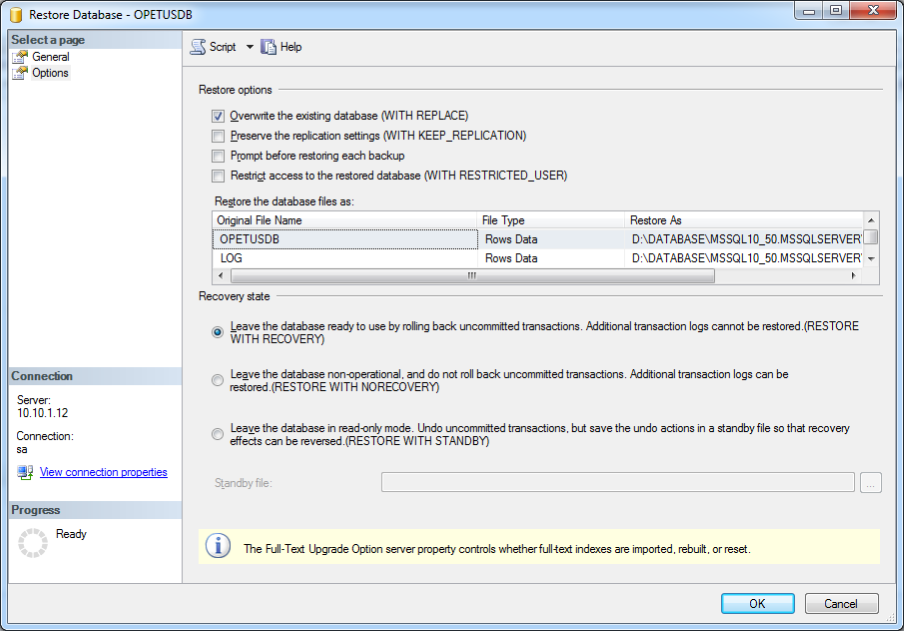
STEP 4 :
Proceed with restoration till you get this message

Deployment Steps For Opetus Education ERP Server (ISERVER)
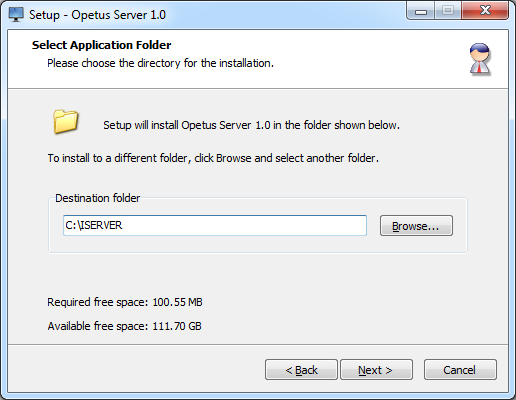
Run OPETUS Server setup. Define path of installation and create sub directory for database. i.e. C:\ISERVER\DATABASE
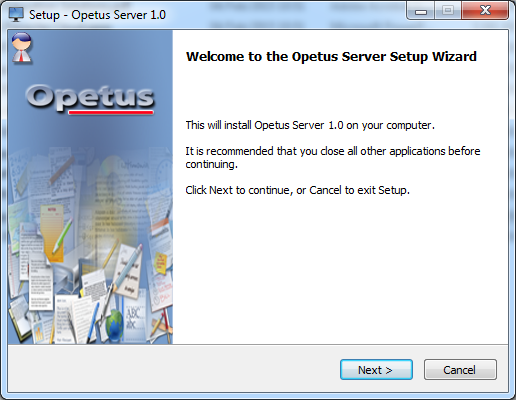
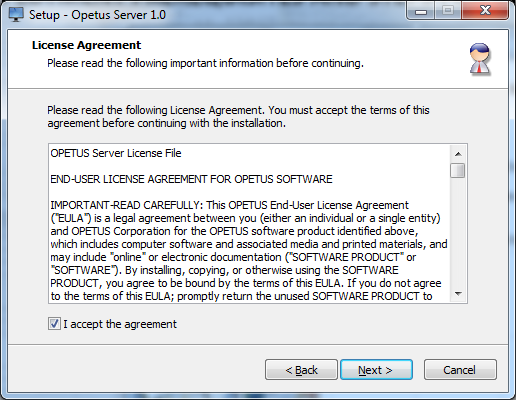
Proceed to next step and accept the License Agreement
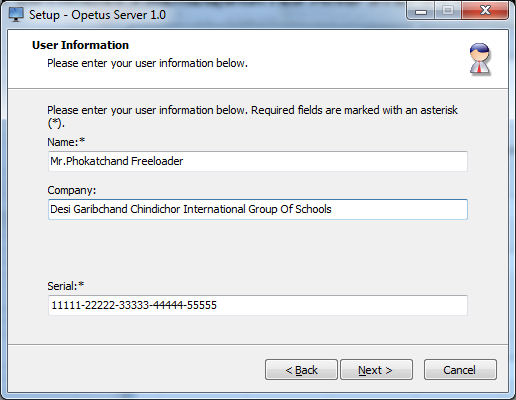
Enter the details of license holder and details of institution
Server setup needs serial number which you can get upon registration or upon sending a request email to info@opetus.co.in
Select path for deployment else continue with the default path. Ensure selected drive has enough disk space
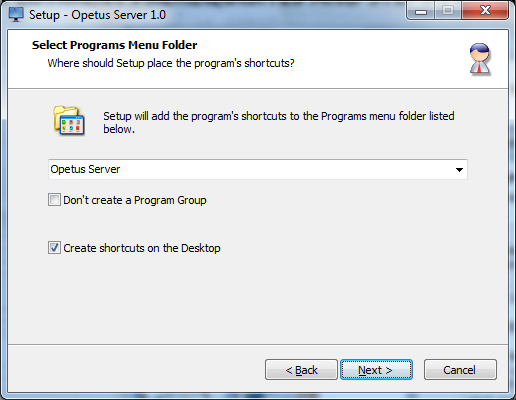
Select shortcut options as needed
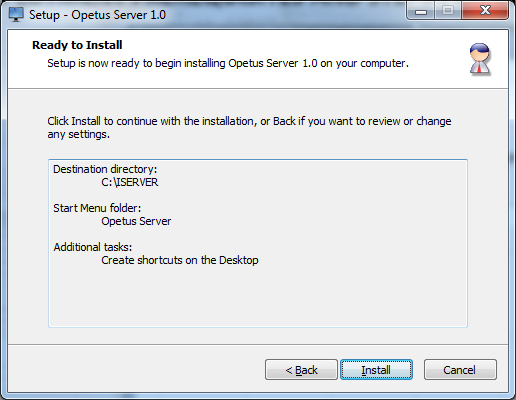
Ensure checklist of selected options and proceed with installation
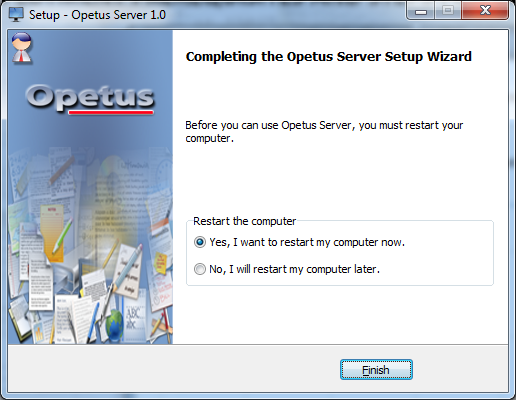
Reboot server upon completion of setup. To configure Opetus Education Server for first time run ISERVER.EXE in administrator mode.
Manually Configuring Opetus Education ERP Server (ISERVER) Using ISERVER.CONFIG
- Opetus Server can be hosted locally on Intranet or on Cloud. For institutions who do not want to be at the mercy of internet service providers,
local installation of server on LAN (PRIVATE IP) serves best option. This guarantees uninterrupted back office operations.
If such institutes want students/faculty to access server resources all they need is a PUBLIC IP from service provider which can be NATed to local instance of IServer
- Open IServer.config file using NOTEPAD. Replace PublicIPAddress, ServerIPAddress, DBIPAddress, DBStreamIPAddress, UserIPAddress, FileIPAddress,
SyncIPAddress, SMSIPAddress, SMTPIPAddress with the IP Address of the machine on which IServer has been deployed
- Enable ports in firewall (if active) and change port numbers if any previously installed software is using IServer ports.
IP Address and Ports are in the section of config file
- Configure database connection string parameters in the section of config file. Note if you do this step using IServer
UI user name and password are saved in secure encrypted format. For simplicity unencrypted parameters can also be used
Opetus Education ERP Server Automated Database Setup
During IServer startup it fails to connect to database server (as during initial setup stage) a new database setup form pops to facilitate
discovery of SQL server instances in network. It scans all instances of existing SQL Server instances and displays in the dropdown Combobox.
Choose the machine/instance where you have deployed OPETUSDB
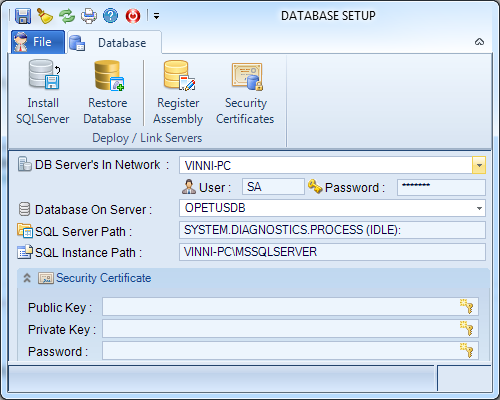
Enter the security credential (UID/PWD) for selected server and Opetus will populate all databases deployed in selected SQL instance
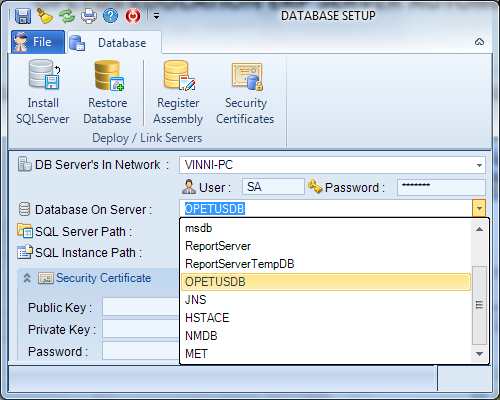
Selected the database and press “Save” to persist the settings in IServer.config file
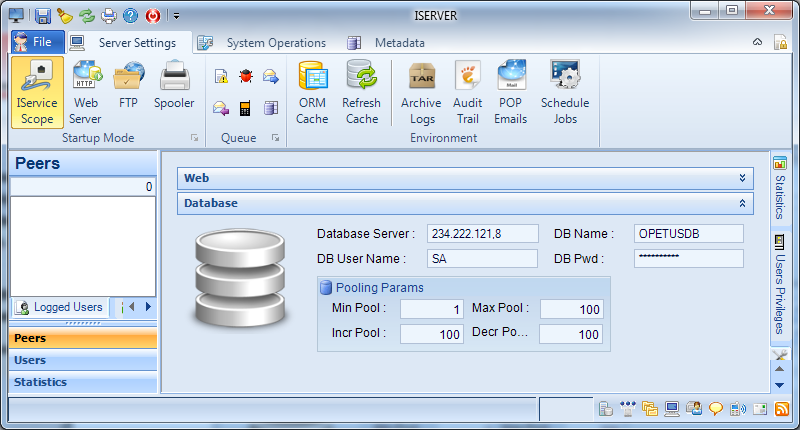
The other option to change database parameters is using Settings -> Database tab from server UI
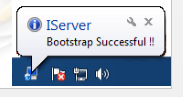
Upon successful startup of IServer it pop’s a notification of “bootstrap” successful. Statusbar of server indicates list of services hosted successfully